Filament: Invite Only Registration via Email Invitations
When building an internal portal or a closed community portal using Filament, there may be a need to limit registration to only those who have been invited. Here's how to apply this implementation:
Step 1: Begin by creating a User Invitations table. Here's a glimpse of our migration:
Schema::create('user_invitations', function (Blueprint $table) {
    $table->id();
    $table->string('email')->unique();
    $table->string('code', 32)->unique()->nullable();
    $table->timestamps();
});
From this migration, we can observe that we only require two fields: an email address and a unique code that is auto-generated.
Step 2: The next step involves creating the UserInvitation model:
<?php

namespace App\Models;

use Illuminate\Database\Eloquent\Model;

class UserInvitation extends Model
{
    protected $table = 'user_invitations';

    protected $fillable = [
        'email',
        'code',
    ];
}
Step 3: Create the User Invitation Resources
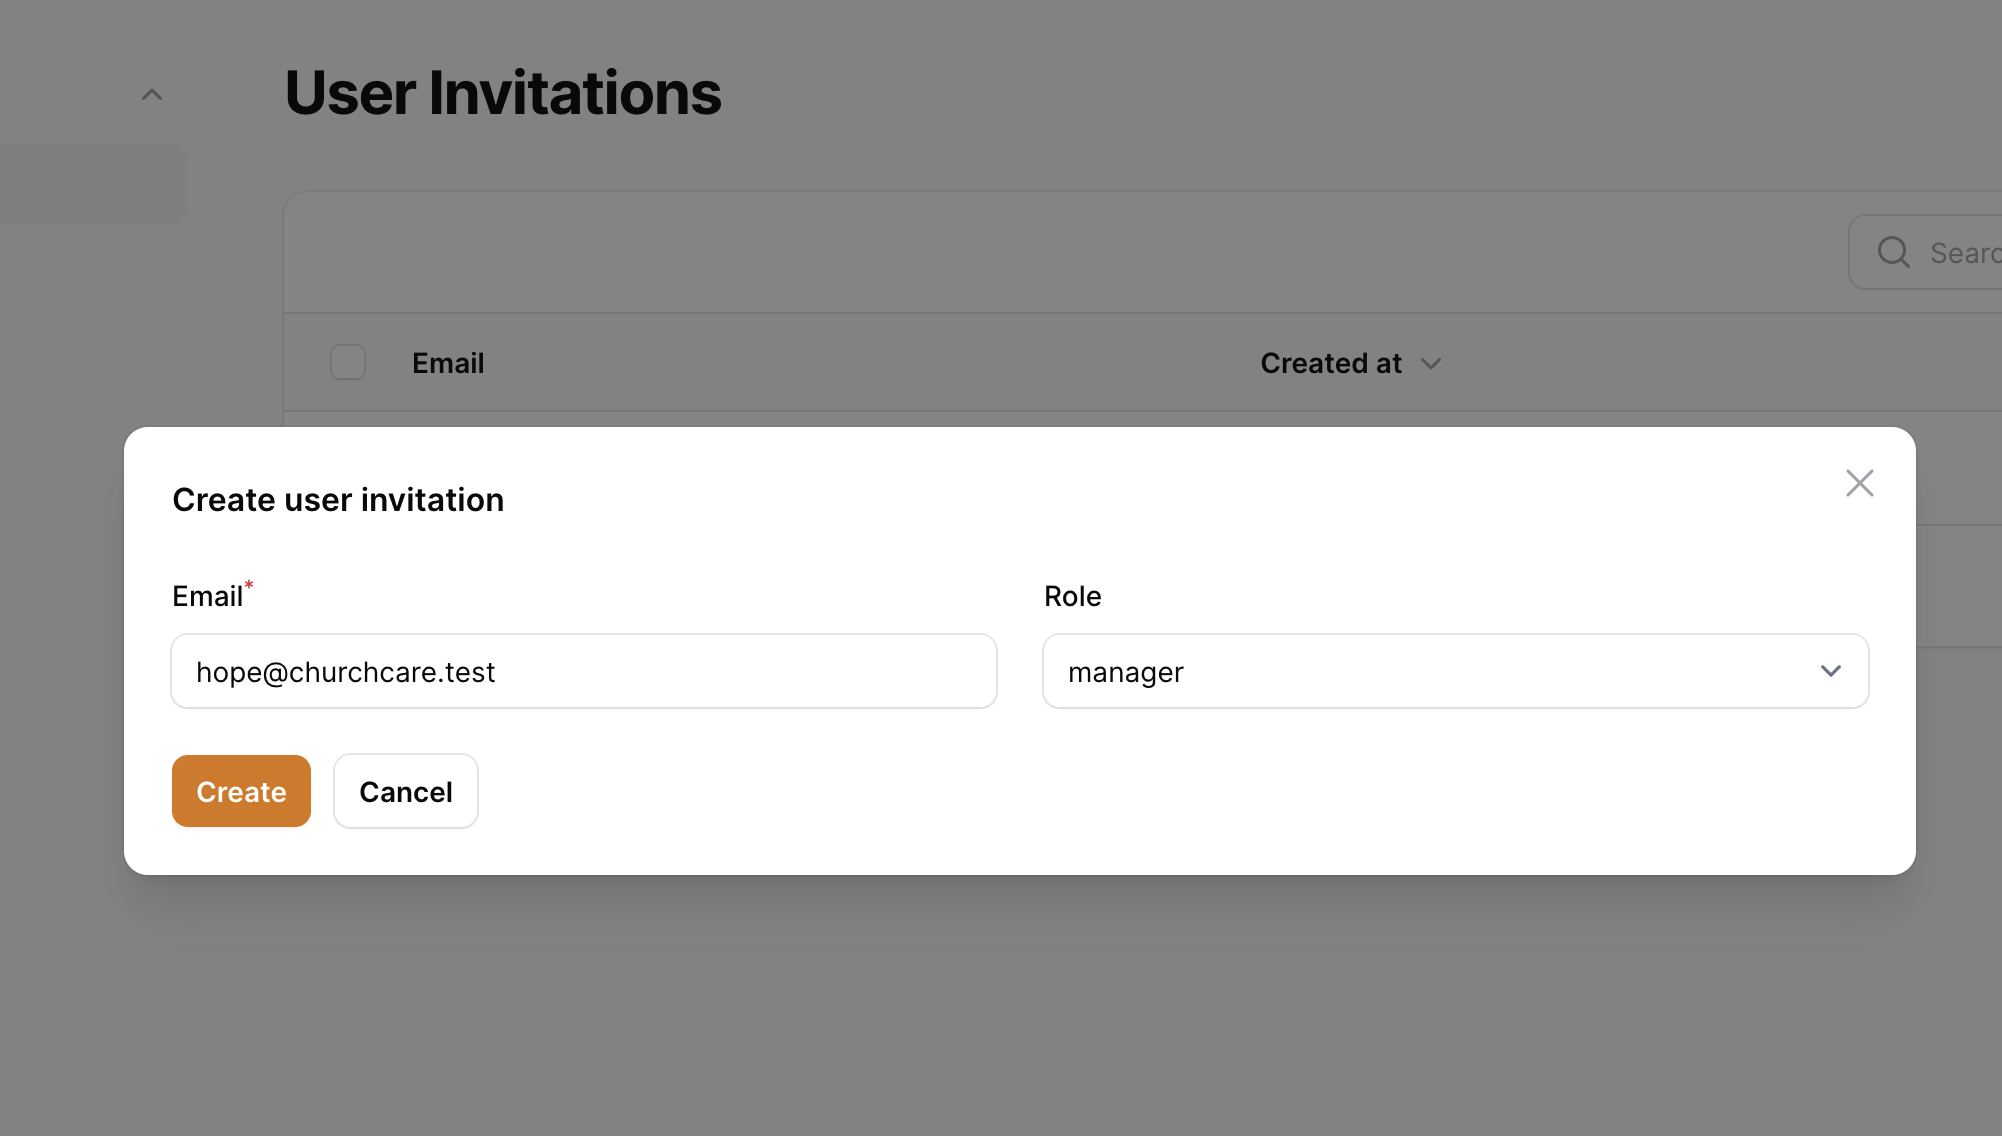
php artisan make:filament-resource UserInvitation --simple
Within the UserInvitationResource class, the form() and table() methods are defined as follows:
Form() Method:
public static function form(Form $form): Form
{
    return $form
        ->schema([
            Forms\Components\TextInput::make('email')
                ->email()
                ->unique(UserInvitation::class, ignoreRecord: true)
                ->required()
                ->autofocus()
                ->disableAutocomplete(),
        ]);
}
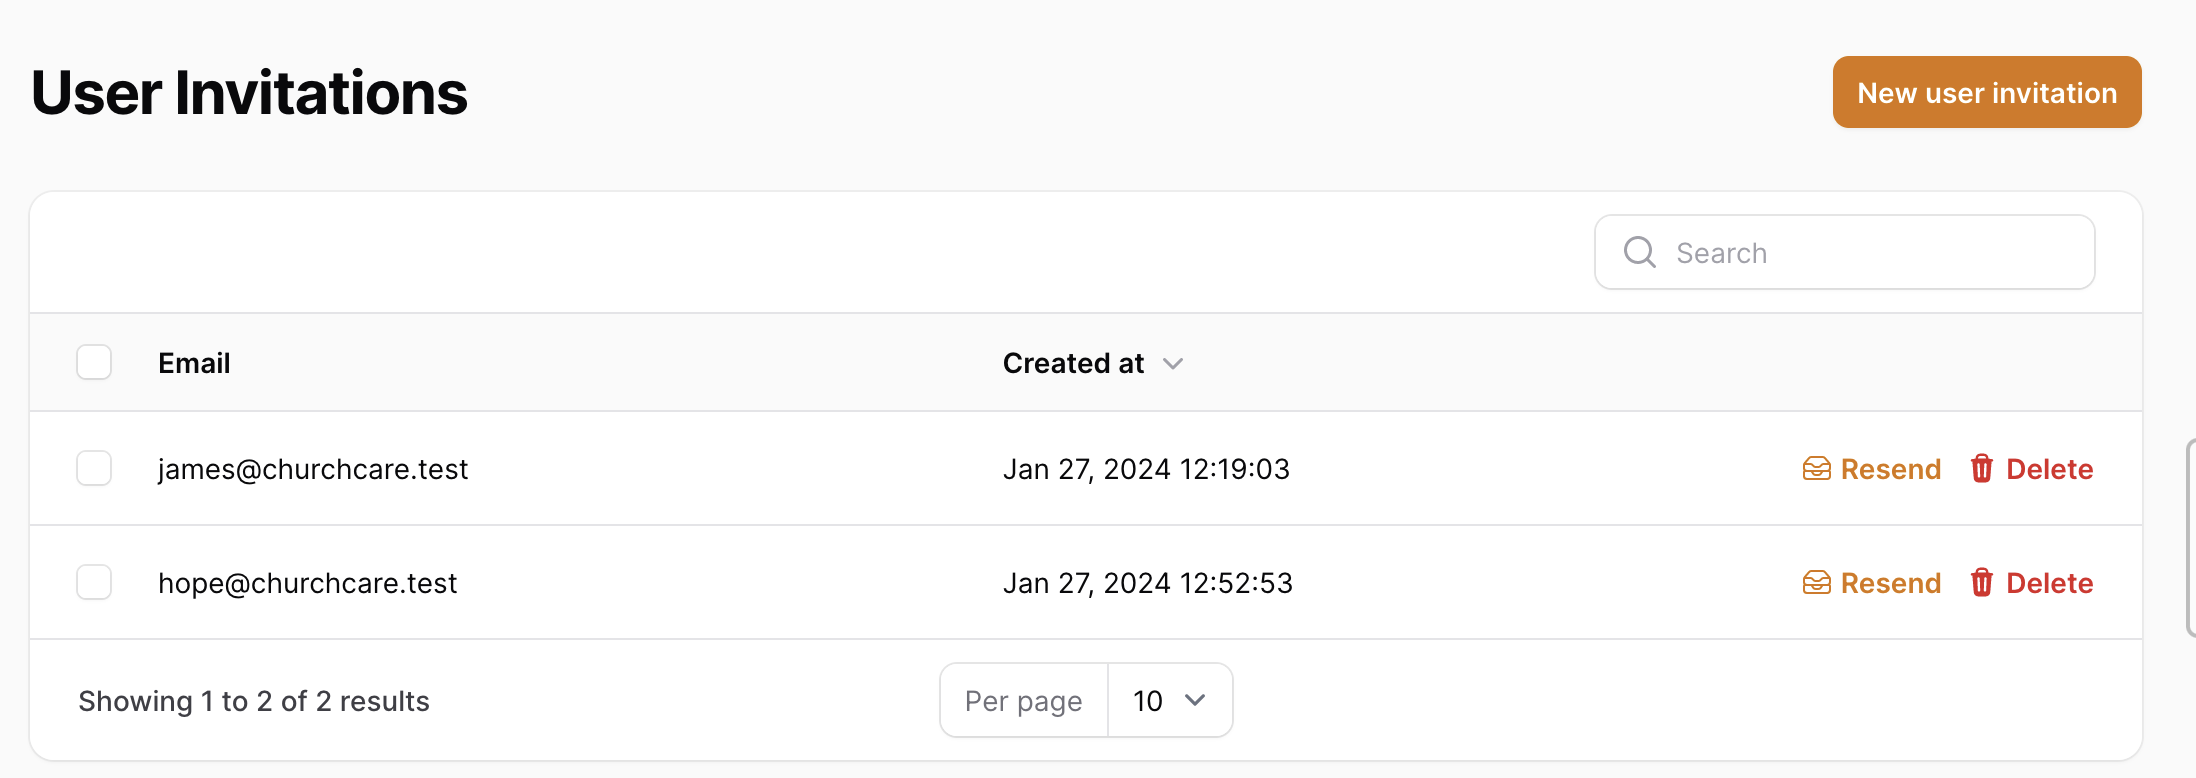
Table() Method:
public static function table(Table $table): Table
{
    return $table
        ->columns([
            Tables\Columns\TextColumn::make('email')
                ->searchable(),
            Tables\Columns\TextColumn::make('created_at')
                ->dateTime()
                ->sortable(),
        ])
        ->filters([
            //
        ])
        ->actions([
            Tables\Actions\Action::make('resend')
                ->label('Resend')
                ->icon('heroicon-o-inbox-stack')
                ->requiresConfirmation()
                ->modalIcon('heroicon-o-inbox-stack')
                ->modalHeading('Resend Invitation')
                ->modalButton('Resend Now')
                ->action(function (Model $record) {
                    Mail::to($record->email)->send(new UserInvitationMail($record));
                    Notification::make()
                        ->success()
                        ->title('Invitation sent')
                        ->body('Invitation has been successfully sent to the recipient.')
                        ->send();
                }),
            Tables\Actions\DeleteAction::make(),
        ])
        ->bulkActions([
            Tables\Actions\BulkActionGroup::make([
                Tables\Actions\DeleteBulkAction::make(),
            ]),
        ]);
}
To generate the unique invitation, it's necessary to adjust the CreateAction method locatable in the `ManageUserInvitations` class. This class can be found in the UserInvitationResource Pages. Here's what the class comprises of:
<?php

namespace App\Filament\App\Resources\UserInvitationResource\Pages;

use App\Models\User;
use Filament\Actions;
use App\Models\UserInvitation;
use App\Mail\UserInvitationMail;
use Illuminate\Support\Facades\Mail;
use Filament\Notifications\Notification;
use Filament\Resources\Pages\ManageRecords;
use App\Filament\Admin\Resources\UserInvitationResource;

class ManageUserInvitations extends ManageRecords
{
    protected static string $resource = UserInvitationResource::class;

    protected function getHeaderActions(): array
    {
        return [
            Actions\CreateAction::make()
                ->createAnother(false)
                ->mutateFormDataUsing(function (array $data): array {
                    $data['code'] = substr(md5(rand(0, 9) . $data['email'] . time()), 0, 32);;
                    return $data;
                })
                ->before(function (Actions\CreateAction $action, array $data) {
                    $user = User::where('email', $data['email'])->first();
                    if ($user) {
                        Notification::make()
                            ->danger()
                            ->title('User already exist')
                            ->body('This email has already been used for a user on the platform')
                            ->persistent()
                            ->send();

                        $action->halt();
                    }
                })
                ->after(function (UserInvitation $record) {
                    Mail::to($record->email)->send(new UserInvitationMail($record));
                })
                ->successNotification(
                    Notification::make()
                         ->success()
                         ->title('Invitation Sent')
                         ->body('An email invitation has been successfully sent to the user'),
                 ),
        ];
    }
}
As you can observe, we are using the `->mutateFormDataUsing()` method to generate a unique code, which is saved alongside the email in the `user_invitations` table. Additionally, before saving and dispatching the invitation to the user, we need to verify if the user currently exists. This is achievable through the usage of the `before()` method; we halt the process with a notification if the user is found.
Now we can send the actual invitation email to the user by executing the `after()` method:
->after(function (UserInvitation $record) {
    Mail::to($record->email)->send(new UserInvitationMail($record));
})
If you have a familiarity with Filament, the remaining sections of the code should be self-explanatory.
Step 4: Create the User Invitation Mail Class
To ensure that the user receives the intended email, a mail class needs to be created to handle its processing. This can be accomplished using the following command:
php artisan make:mail UserInvitationMail
Below is the content of the Mail class:
<?php

namespace App\Mail;

use Illuminate\Bus\Queueable;
use Illuminate\Mail\Mailable;
use App\Models\UserInvitation;
use Illuminate\Support\Facades\URL;
use Illuminate\Mail\Mailables\Content;
use Illuminate\Mail\Mailables\Envelope;
use Illuminate\Queue\SerializesModels;

class UserInvitationMail extends Mailable
{
    use Queueable, SerializesModels;

    /**
     * Create a new message instance.
     */
    public function __construct(private UserInvitation $invitation)
    {
    }

    /**
     * Get the message envelope.
     */
    public function envelope(): Envelope
    {

        return new Envelope(
            subject: 'Invitation to Join ' . config('app.name') . ' Portal',
        );
    }

    /**
     * Get the message content definition.
     */
    public function content(): Content
    {

        return new Content(
            markdown: 'mail.auth.invitation',
            with: [
                'acceptUrl' => URL::signedRoute(
                    'filament.app.register',
                    [
                        'token' => $this->invitation->code,
                    ],
                ),
            ],
        );
    }
}
A brief explanation on the 'acceptUrl' variable: the route name `filament.auth.register` is automatically generated from the Register page, which we will set up in the next step. The route name may vary based on the location of this Page within the Filament folder. For my setup, I'm putting it under the App folder.
Content of the 'invitation.blade.php':
<x-mail::message>
Hello,

{{ __('You have been invited to join') }}{{ config('app.name') }}

{{ __('To accept the invitation, click on the button below and create an account.') }}

<x-mail::button :url='$acceptUrl'>
{{ __('Create Account') }}
</x-mail::button>

{{ __('If you did not expect to receive an invitation to this team, you may disregard this email.') }}

Thanks, <br>
{{ config('app.name') }}
</x-mail::message>
Here is the sample of the email the user will receive
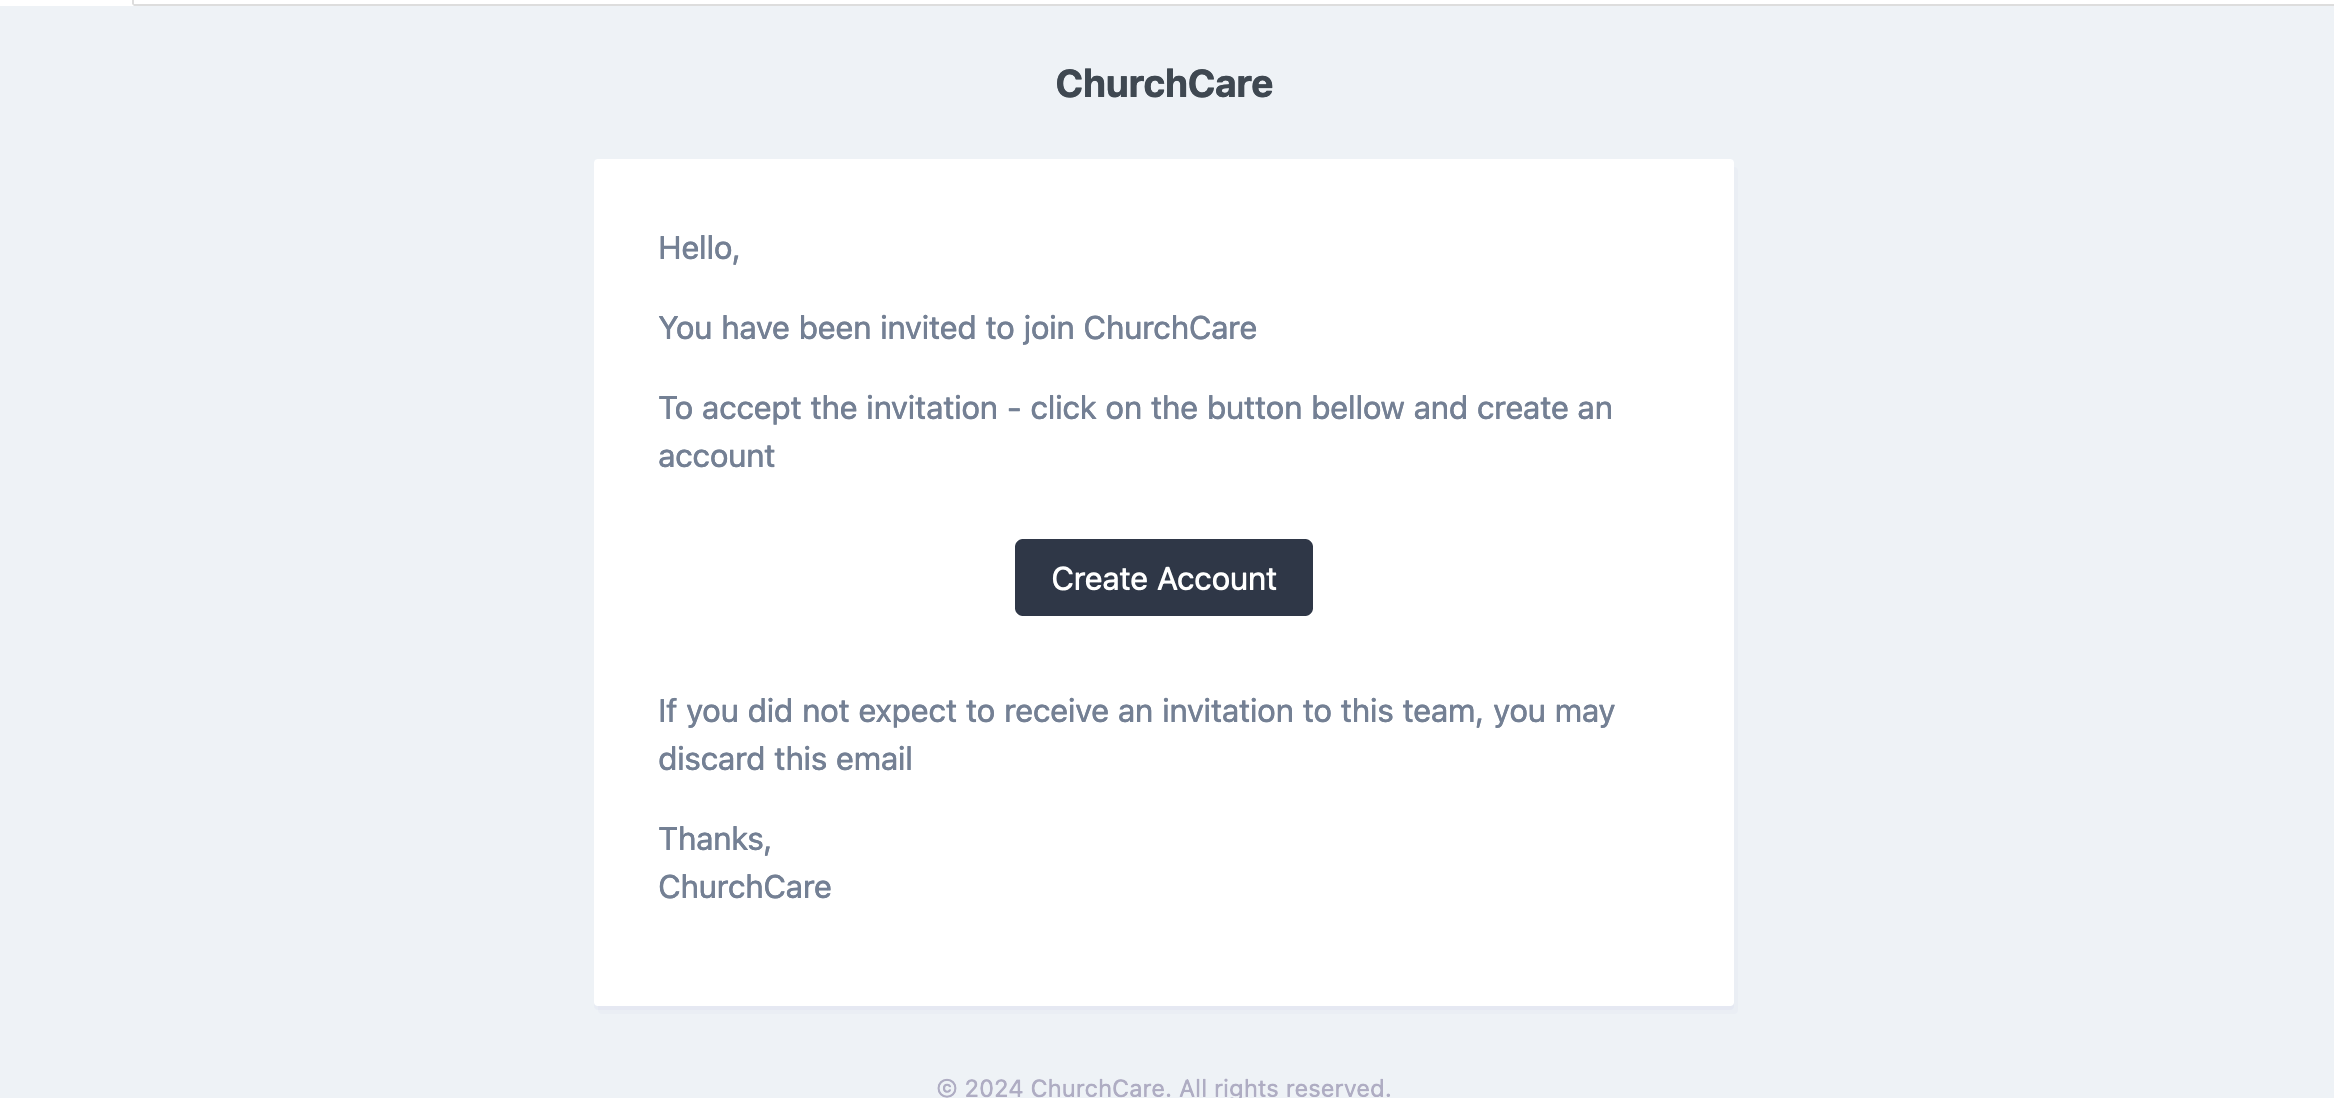
Create the Register Class to handle the registration of invited user. Now we are going to create this under the app panel using this command
php artisan make:filament-page Register
Below is the content of the Register page:
<?php

namespace App\Filament\App\Pages;

use App\Models\User;
use App\Models\UserInvitation;
use Filament\Forms;
use Livewire\Attributes\Url;
use Filament\Facades\Filament;
use Filament\Forms\Components\Select;
use Illuminate\Auth\Events\Registered;
use Filament\Notifications\Notification;
use Filament\Forms\Components\Component;
use Filament\Pages\Auth\Register as BaseRegister;
use Filament\Http\Responses\Auth\Contracts\RegistrationResponse;
use DanHarrin\LivewireRateLimiting\Exceptions\TooManyRequestsException;

class Register extends BaseRegister
{
    #[Url]
    public $token = '';

    public ?UserInvitation $invitation = null;

    public ?array $data = [];

    public function mount(): void
    {
        $this->invitation = UserInvitation::where('code', $this->token)->firstOrFail();

        $this->form->fill([
            'email' => $this->invitation->email,
        ]);
    }

    public function register(): ?RegistrationResponse
    {
        try {
            $this->rateLimit(2);
        } catch (TooManyRequestsException $exception) {
            Notification::make()
                ->title(__('filament-panels::pages/auth/register.notifications.throttled.title', [
                    'seconds' => $exception->secondsUntilAvailable,
                    'minutes' => ceil($exception->secondsUntilAvailable / 60),
                ]))
                ->body(array_key_exists('body', __('filament-panels::pages/auth/register.notifications.throttled') ?: []) ? __('filament-panels::pages/auth/register.notifications.throttled.body', [
                    'seconds' => $exception->secondsUntilAvailable,
                    'minutes' => ceil($exception->secondsUntilAvailable / 60),
                ]) : null)
                ->danger()
                ->send();

            return null;
        }

        $data = $this->form->getState();
        $user = $this->getUserModel()::create($data);
        $this->invitation->delete();
        app()->bind(
            \Illuminate\Auth\Listeners\SendEmailVerificationNotification::class,
        );

        event(new Registered($user));

        Filament::auth()->login($user);

        session()->regenerate();

        return app(RegistrationResponse::class);
    }

    protected function getEmailFormComponent(): Component
    {
        return Forms\Components\TextInput::make('email')
            ->label(__('filament-panels::pages/auth/register.form.email.label'))
            ->email()
            ->required()
            ->maxLength(255)
            ->unique($this->getUserModel())
            ->readOnly();
    }
}
What we're essentially doing is extending the primary Filament register class and overriding the `register()` method. Within this method, we are eliminating the invitation once the user account has been created.
Step 6: Restrict the Registration form to invited user.
We need to incorporate the registration route into the route file. So, open `web.php` located in the route folder and append the following code:
use App\Filament\Pages\Register;

Route::get('register', Register::class)
    ->name('filament.app.register')
    ->middleware('signed');
With this, all necessary steps are complete.
Limited-time offer - $350/Week
Turn your vision into reality. Our subscription service offers continuous Laravel Filament development and support. Start building your future today!
Related Articles that May Be to Your Interest
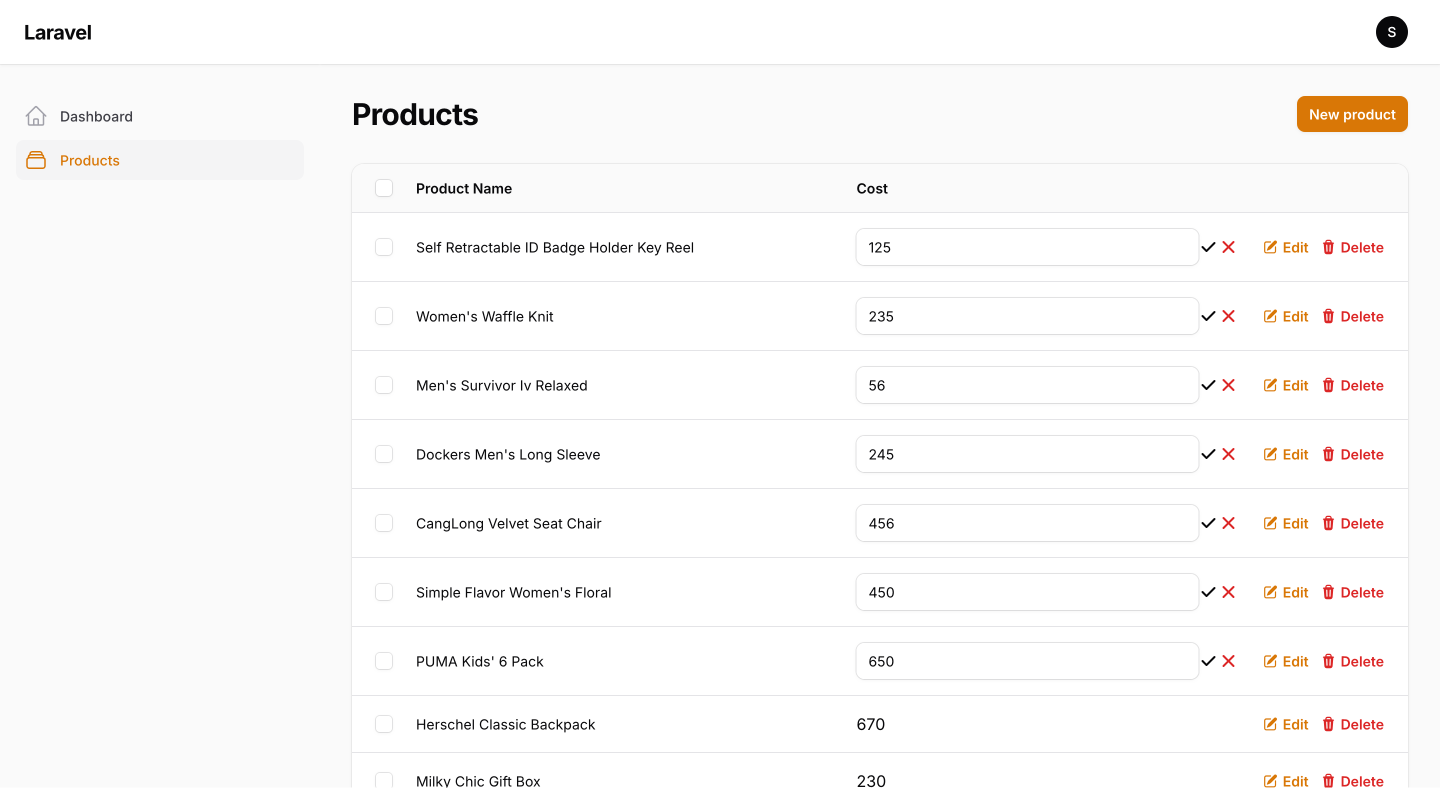
Enhancing Filament Tables with Click-to-Edit Columns
Add click-to-edit functionality to Filament tables using Alpine.js and a custom column. Make table edits seamless and intuitive!
New Features in TweakPHP 0.7.0 Release
Discover TweakPHP 0.7.0’s custom loaders and improved cross-platform support, boosting PHP development efficiency and flexibility.
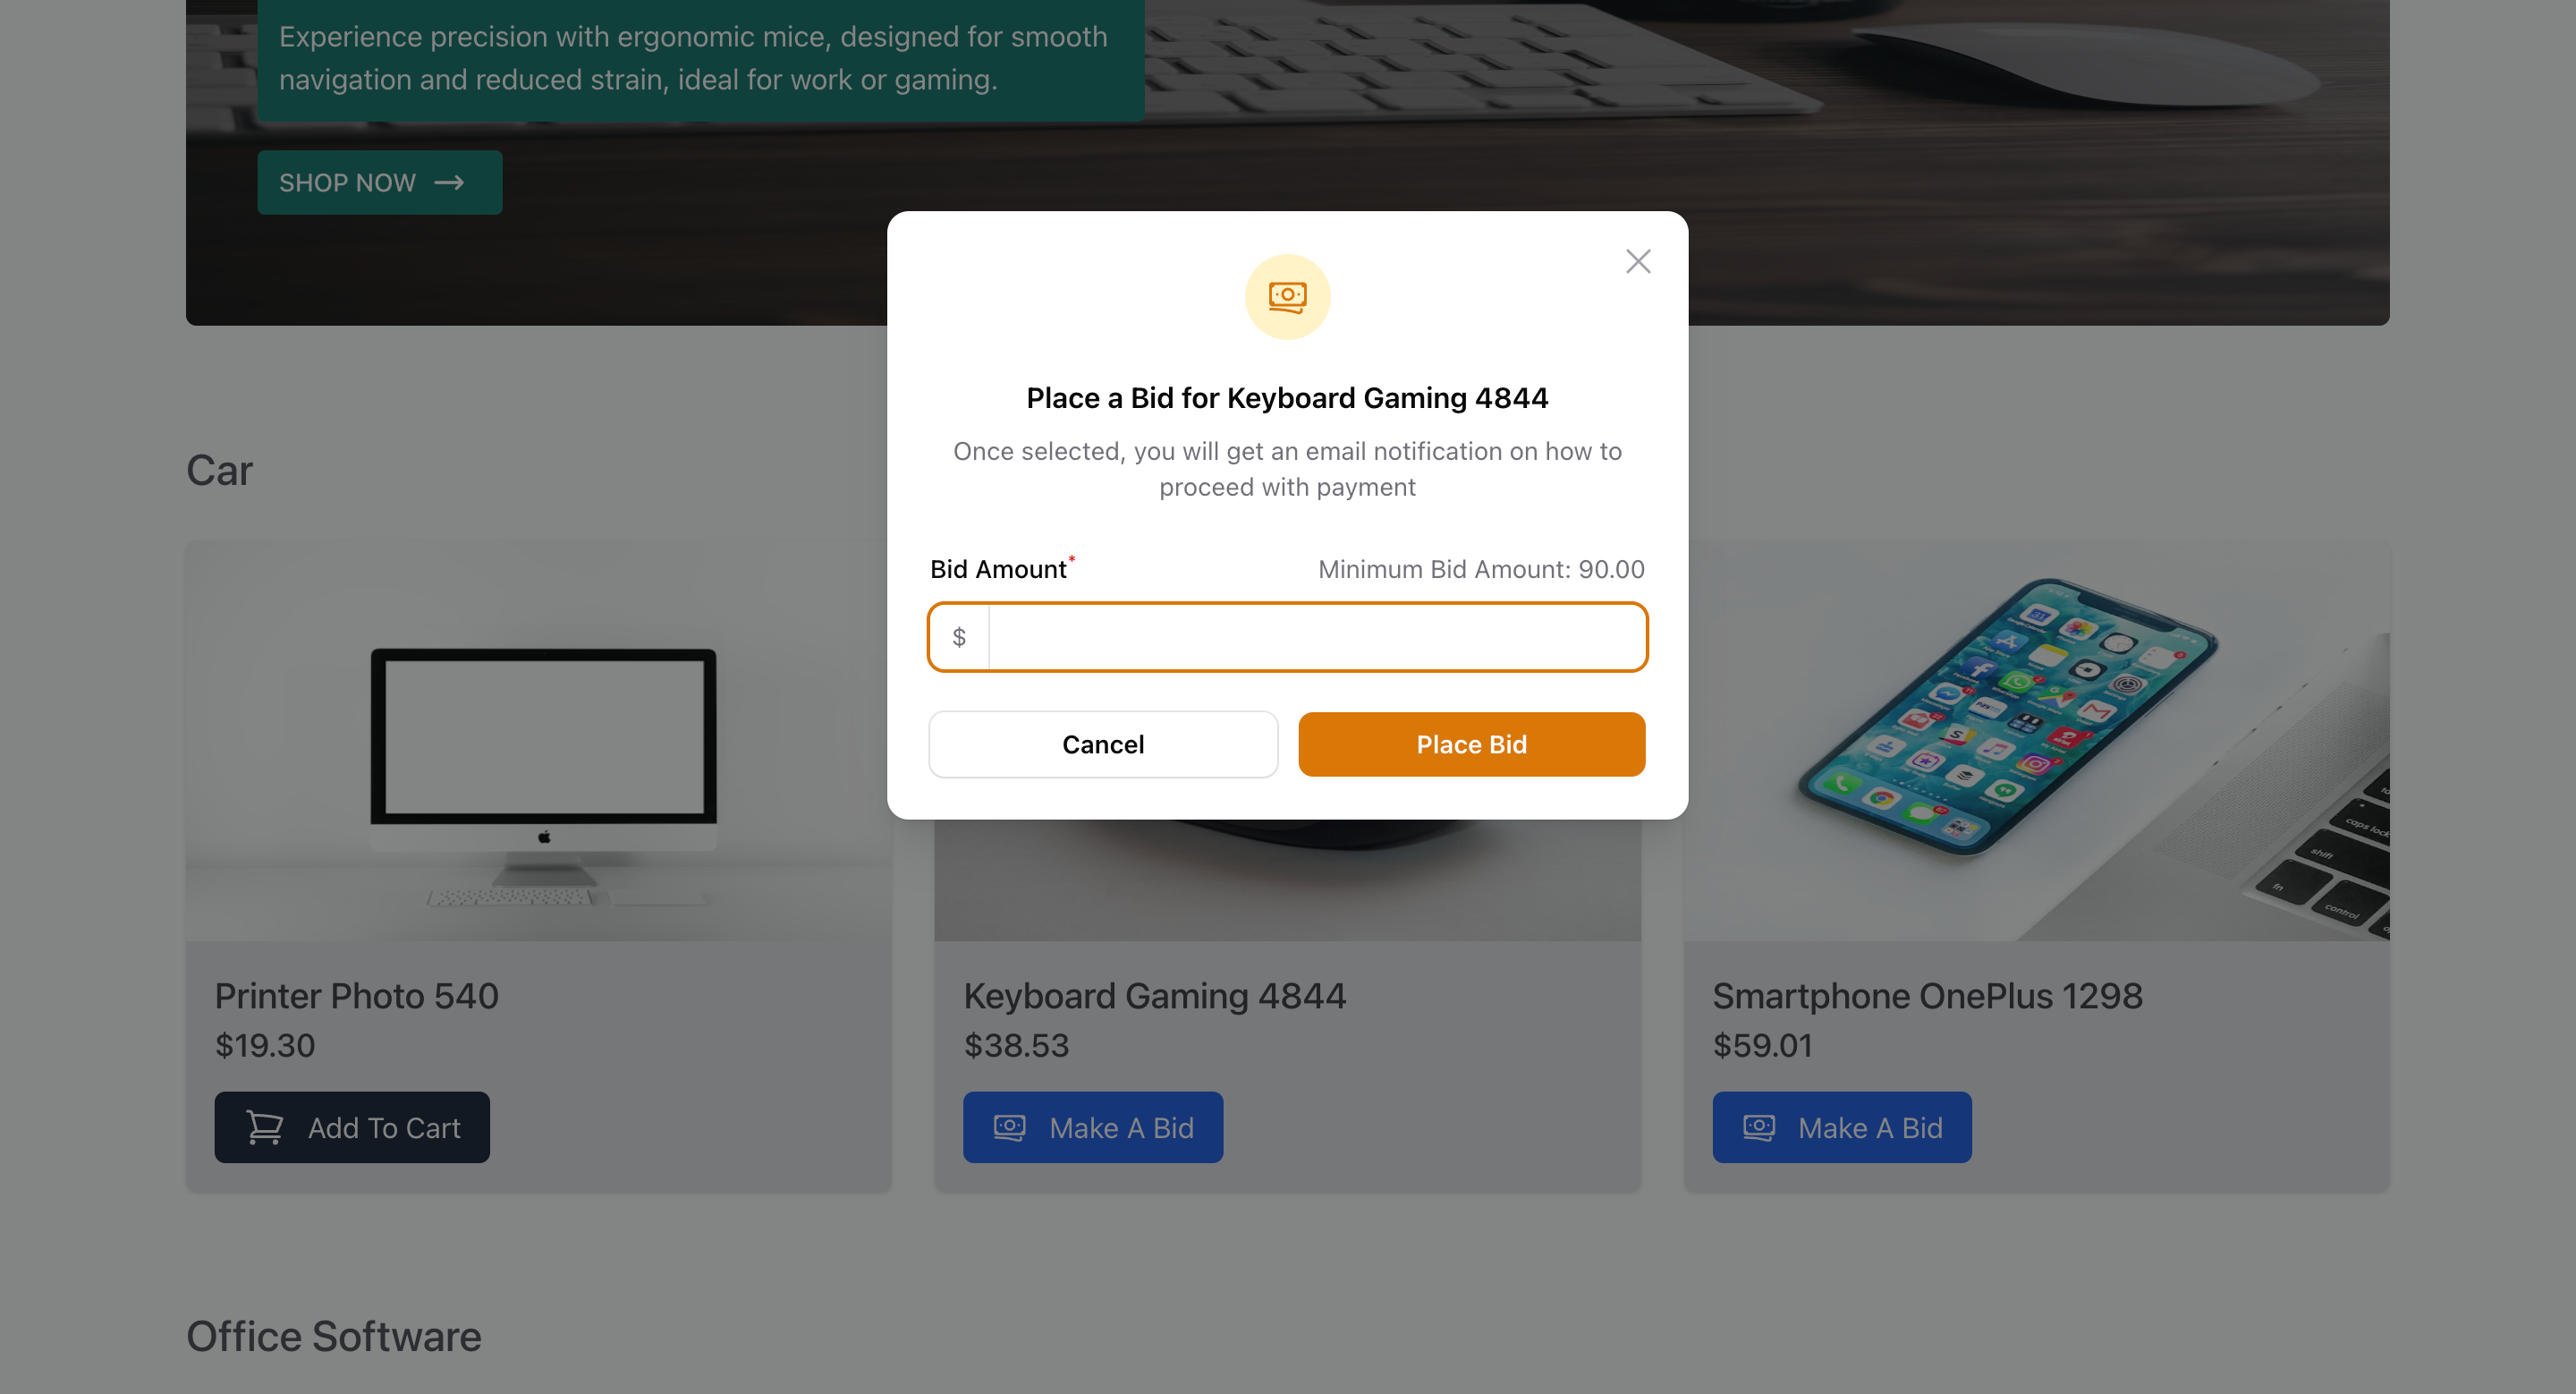
Creating Dynamic Modals in FilamentPHP with Livewire Action Arguments
Learn how to pass action arguments to a Livewire component in FilamentPHP to create dynamic modals for seamless user interactions.

